Thursday, December 20, 2012

Interplex Solar Nite Eyes Review

I wrote a blog back in October of this year about How to Predator Proof the Chicken Coop.  I wrote about several ways to keep predators out, but one I want to go into more specifics about is the Interplex Solar Nite Eyes.  I have decided to review this product after discovering this morning that one of the four solar nite eyes I had came up missing!  So below is my review of this product.  NOTE: I did not receive compensation from Interplex Solar for this review.

Interplex Solar Nite Eyes: < click to see their complete list of predators


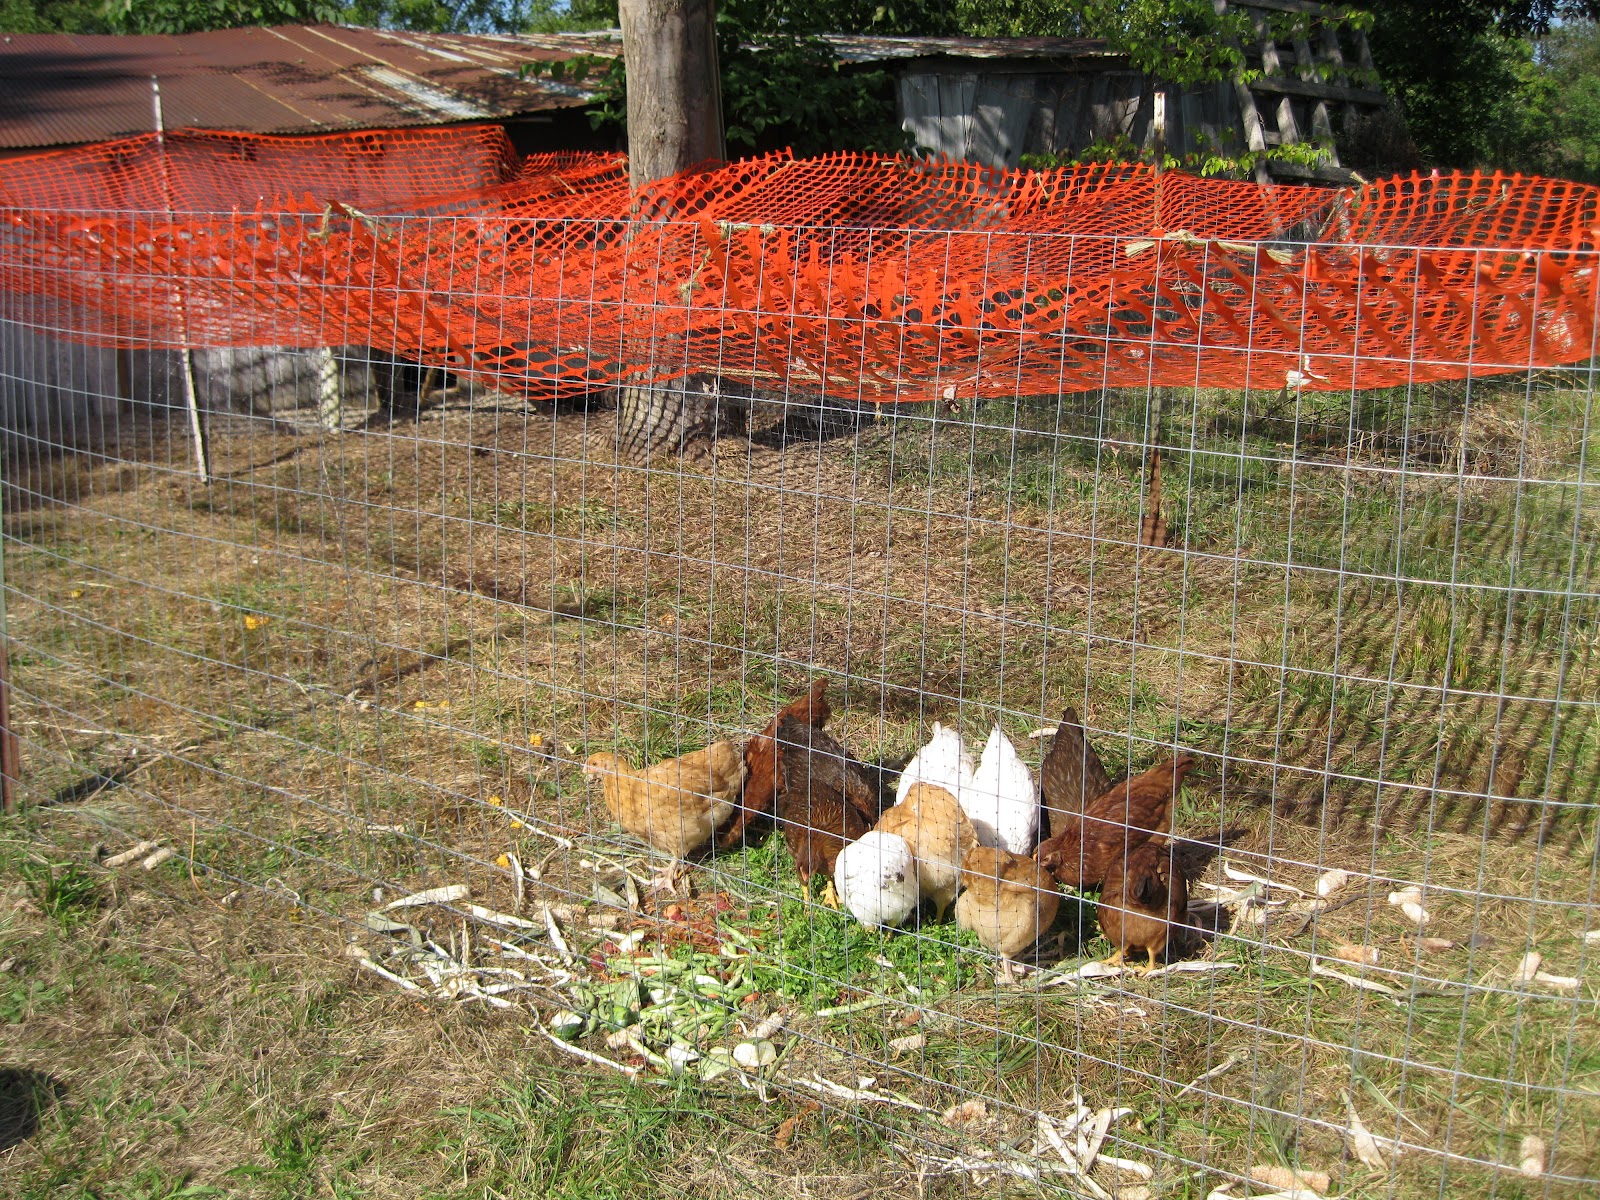
When I first heard of the Solar Nite Eyes, I was pretty skeptical, but after finding many customers who had success with them with very serious predator problems I decided to give them a try.  Their website suggests that you order 4 of them to protect all 4 sides.  I ordered 4 of them in early July of this year.  When I received the package, they appeared to be solid but very simple and I questioned whether or not they would work.  The concept is that at night, these red "eyes" flash over and over all night are supposed to look (to an animal) that they are the eyes of another animal watching them.  They in turn feel threatened and stay away.  They do not require any batteries, have been tested in a variety of extreme weather areas, and require no maintenance.  The reference sheet that came in the package gave instructions as to how high they needed to be placed depending on the predator you're trying most to keep out.  After a whole summer trapping raccoons (one of Ohio's worst chicken predators) I really hoped these would work.  It turns out they did work!  They began to work the first night after they were placed outside.  They received literally no more than 4 hours of sunlight that day and they flashed until the sun came up.  They shut off automatically when the sun comes up and turn back on automatically when the sun goes down.  I've been using them since July and have had no problems with them staying charged and we have a lot of cloudy days here in Ohio, as well as that a couple of them aren't placed in direct sunlight.  I have also not had ANY evidence that any predators have even tried to get into the chicken house.  No areas where it looks like it has been dug up or anything.  One of my favorite features of these (and I wasn't aware of this when I ordered them) they have a magnetic back....so you don't even have to nail them to anything. Which is great for quick removal if you want to move them to a new location OR if you do need to charge them up.  The magnet is pretty strong and the only thing I've noticed is that during high winds, one of them did fall off....but that was no problem, I just reattached it and it kept working fine.  I cannot recommend these enough!  In fact I was prompted to write this review because this morning, one of mine came up missing!!  I have no idea what happened to it but once I realized I couldn't find it I immediately knew I would be ordering some more of them!  Depending on where you buy them the price ranges from I think $17 to $25.  It sounds like a lot to spend when you buy 4, but its cheaper than electric fencing, and also cheaper than replacing your flock if something does get in.  This was money well spent in my opinion and I'd spend it again in a heartbeat!  Thank you for reading and go out and buy some Solar Nite Eyes!


Saturday, December 1, 2012

Easter Eggs Worked

As you can see from my last blog, one of my hens has started to lay her eggs.  She has only laid 2 eggs so far and the first egg I found on the floor.  I was concerned that they wouldn't use the nest boxes (or buckets really) I had set up for that purpose.  After looking online, I saw that most people had to put golf balls, or fake ceramic eggs in the nest boxes to train them to use the provided boxes.  I didn't really think this would work at all so I searched for some golf balls to try. I only found one golf ball but many of those plastic Easter eggs in the basement.  I didn't know if these would work since they're all different colors.  So I took enough of the plastic Easter eggs to put one in each nest bucket and placed a small rock inside each of them so they wouldn't fall out.  The eggs were only in the buckets for 1 day.  Look what happened!!


I've got a bunch of blog topics coming....more on my predator proofing, the 2013 Seed List, sometime in spring some solar power basics and much more!  There will be more gardening topics as we get closer to spring....sadly there isn't much to do during winter with the garden once you've planned out what you will plant and ordered your seeds.  Thanks for reading along!

Thursday, November 29, 2012

First Egg!

Today is an exciting day!  When I went outside early this morning to let the chickens outside I was raking around the bedding on the inside of the coop and found the first egg! I have an idea which one laid the first egg but I don't know for sure.  Of course it wasn't in the nest boxes....I found it on the floor!  It had a few scratches (but not any cracks in the shell, just scratches from the sticks on the floor)  on it and is small like the first eggs are, but was completely clean!  I took some pictures!


This picture is the first egg next to a store bought white egg.  Just for size comparison....the first few eggs that chickens lay are small...but they'll get bigger after a few small ones I think.


Hooray!!  I was planning on writing a blog today about something else, I guess I'll save that one for another time!   Thanks for reading and check back soon!

Saturday, November 24, 2012

Chickens See Snow

I just thought I'd show you what was happening this morning.....there are a few flurries this morning here in central Ohio and the chickens have never seen snow before.  I took a short video!  Check it out!


I just ordered a solar panel kit from Harbor Freight and at some point will write about that....but it might not be until spring.  Thanks for reading and watching!

Sunday, November 18, 2012

Lettuce Update and DIY Cheap Grit Station for Chickens

First I thought you would all like to know how much the lettuce has grown since I first transplanted it.  I didn't think it had grown all that much until I looked at the first photo I took of it.  It has grown a lot!  The first photo is the day I transplanted it.  The second photo is one I took today!


Here is my latest recycling project.  A chicken grit station.  Chickens need grit to digest their food.  Grit can be dirt, sand, small pebbles, or store bought grit is usually a mix of granite and sometimes shells.  You can buy a grit station which is made of plastic and around $15.00.  You fill it with grit and the chickens will eat it.   Then you pay tax and shipping if you're buying online.  Might as well save some money and make one!    I decided to recycle my 5lb plastic protein powder tub for this very purpose!  Why buy one when its made of plastic anyway, and this will do the same thing.  Here is how I made it.

This is the cleaned out container I am starting with.


Then I cut out rectangular shaped holes that they could fit their heads in.


Fill your container with grit.  I am using sand I got at the gravel pit.  It was only 75 cents for a 5 gallon bucket full.


Put the lid back on the top and see the chickens use it!


Monday, November 12, 2012

Cheapest and Quickest Rain Collector!

Just wanted to post a quick blog and video about how I am collecting rain water from the greenhouse.  The green house is only 6X8, and I'm only collecting water from one end of the eaves spout.   Which means there isn't a whole lot of water coming down.   During winter I am going to use the collected water for the chickens and to water any plants in the greenhouse.  I got this idea from YouTube one on of london1817's videos!  You can see this took almost no time and I recycled some plastic that would otherwise be sitting in a landfill somewhere.  Check out the video!  (This one is very short!) 


As you can see, this is so easy to do.  The next thing I am working on, is plans for a Solar Heated Waterer for my chickens.  I'm going to try and build something that requires no electricity or batteries to operate.  I need something to try and keep their water from freezing.  I'm not sure if this will be my next blog. Just keep an eye out for this!

Wednesday, October 24, 2012

Garden, Chicken House and Harbor Freight Greenhouse Tour!

After many failed attempts to upload this video I finally got it!  Check it out!


Hope you enjoy it!  I will try to do more videos like this!

Sunday, October 21, 2012

Garden, Greenhouse, Chicken Update and Farm Recycling!

This post is going to have lots of updates, photos and info!  There are also going to be recycling ideas throughout this blog!

Greenhouse Update:  Today I dug up Boston and Simpson Lettuce starts that came up in the garden on their own.  I transplanted them into an old piece of eaves spout!  I also plan to dig up a few of the large kale plants and transplant them into pots in the greenhouse.  I want to see how long I can grow things into the winter.  Although this year will be mostly an experiment. Here are a couple of photos.


Some other items I've recycled for the greenhouse is a metal shelving unit, refrigerator drawer, and BBQ lid. Here they are!


You can also tell by the photo below that I save all of the packages you get when you buy flowers or vegetable plants!  Otherwise you have to buy these things....and you can get a few uses out of them!


Garden Update:  The gardens have all been covered in manure.  We are going to till up a spot for me to plant peas in early spring.  The only things I've got left at this point are some collard greens and a ton of kale!


Chicken House Update:  In the chicken house my dad and I made nest boxes for them out of buckets.  We extended their roosts which were made out of an old ladder we split up, and I took down the orange fencing on the outside of their run and put poultry wire up instead.  I became concerned that this winter snow build up could cause the fencing to collapse. I also put a ton of dried pine needles down inside their house....it smells nice and they dig around in it.  When springtime arrives I can shovel all of the leaves, wood chips, and pine needles out and it will be put on the garden.  My own homemade compost!

Nest boxes (recycled buckets)!  They should be laying eggs in a few weeks!


You can see the pine needles...and chickens wondering what I'm doing.

Expanded roosts. 

Outside run.

Another photo of the roosts.

A closer look at the poultry wire I added.

Friday, October 19, 2012

Recycle Your 2-Liter Bottle!

Here is an image that has been floating around the web....check out greenroofgrower.blogspot.com for more info!  But here is how you can recycle your 2-liter plastic bottles!  I'm going to try this out!


I will post soon about my greenhouse experiment also!

Thursday, October 18, 2012

Harbor Freight Greenhouse Experiment #1

My greenhouse is all set up and ready to go.  I wrote about it briefly in a previous blog.  Its 6x8 feet, so it's small.  I got it at Harbor Freight and it was pretty inexpensive.  Since I've never grown anything in a greenhouse before, I'm sure there will be a period of trial and error.  The temperature can't get too hot or everything will essentially fry in there.  Also if it's too cold, then the plants will freeze.  I'm not sure how long into winter I can grow things in it without a heat source.

This past spring, if you all remember, I had hundreds of lettuce plants come up on their own from the previous seasons seeds.  Now that its fall, and the garden has been mowed off, there are already lettuce plants coming up!  So I've decided that in a few days I'll transplant some of the lettuce plants into containers in the greenhouse!   The next thing I'm going to try is to take some already established Kale plants from the garden and put them into containers to see how long I can keep them going.  Both kale and lettuce are cool season plants.  Another option I could try is spinach.  Spinach grows best during the shorter days of fall.  So, I'm hoping to get the plants transplanted sometime between tomorrow and next week.  It's raining today and I decided I'd wait.  

Garden Update:  We got 2 huge trailer loads of manure and spread it all yesterday with pitch forks!  Talk about a tiring job!  We have over 2,000 square feet of garden!  So except for some kale and collard greens, all of the gardens are covered with manure and ready for next season!  I'm already making a seeds list for next year!  Sorry there were no photos this time but its raining outside!  I'll take some when I transplant the lettuce.  Keep reading!


Quick P.S!
I recovered the chicken coop run area with poultry wire because I was afraid of snow build up on the orange plastic fencing....so it looks much better!  Photos on the way tomorrow of that!

Monday, October 8, 2012

Homemade Insecticide and Predator Proofing the Chicken House!

Hello all!  I recently found an magazine article on how to make your own homemade insecticide that is safe for animals, people and your garden.  The article said you could use it to disinfect your chicken house when you clean it out.  What you have to do is this.  Save all citrus peelings in a glass jar and cover it with distilled vinegar.  Keep adding peels and keep covering with vinegar for 3 months.  All you then have to do is strain the mixture into a spray bottle and you are ready to use it!   Limonene is a natural oil that exists in citrus peels and is a natural insecticide. The vinegar extracts the oil.  You end up with something safe to spray your plants, vegetables and chicken house with!  I'm trying it out this winter.  The photo below is what I have so far!


Next up is how to predator proof your chicken house.  First off, if you're in Ohio and you have chickens, even a few, you'll have predators.  Here is a list of predators in our area.  Foxes,dogs, opossum, raccoon, hawks, owls, weasels, rats, skunks and certain snakes.  Snakes, opossums, skunks and rats will mainly take the eggs.  I'm not going to go into the gory details of how to tell which predator has gotten into your chicken house but rather tell you all how I've got my chickens protected.  Most of the predators in the Ohio area are night hunters.  If your chickens are closed up into their house at night you shouldn't have problems if its secure.

1. Interplex Solar Night Eyes
I bought 4 of these to put around each side of the chicken house.  They are solar powered and weather proof.  They begin to blink around dusk and blink all night long.  They replicate a pair of "glowing eyes" that predators see and stay away from.  Night predators think they're being watched and stay away.  These will protect the house from raccoons, skunks, opossum, foxes and many more.  You must hang them to the suggested height for what you're trying to keep out.  Its cheaper than electric fence and so far I have seen no evidence of anything trying to get in.  We have a LOT of raccoons and opossums here.  You can get them from amazon also.  Here is what they look like.


2. Concrete
This next idea came from Rick at Produce Your Green Power aka london1817 on YouTube.  He has a great channel!  All types of videos on chickens, solar, wind power, gardening.  Check him out in the link above!  Anyway, his idea was to pour Quickcrete concrete right out of the bag all the way around the outside of the chicken house, so that predators couldn't dig their way under it.  Once you pour it out all the way around, I took a watering can and poured water on it to wet it down.  Then it just hardened that way!  It was really cheap and easy to do.  Here is a photo of what some of it looks like.


3. Welded wire and poultry wire
Next I have double wired the windows with both welded wire and poultry wire.  You want to double up on this because raccoons can chew right through the chicken wire!  Hard to believe, I know, but they can.


4. Covered Outdoor Run and Decorations
This next predator (along with raccoons) seems to be the most challenging to keep out.  So far I have not lost any chickens....however...even after covering the outdoor run for the chickens with orange "snow fence" and hanging some of those metallic "whirli-gigs" a hawk STILL landed in the tree above the run right in front of my dad and I as we stood there looking at it.  Here are photos of the fencing and the whirli-gig...which is the only one left and even it is broken.  Another tactic I'm going to try is to hang CD's from the tree at different lengths and branches.  Hawks don't like reflective things.


I will do another update on predator proofing once I get the CD's hung up and the other thing I was going to try was a flying owl decoy....hawks are smart though...and they seem to be able to figure things out.  I should also point out, its illegal to shoot them.

Sunday, September 30, 2012

Harbor Freight 6x8 Greenhouse

I know it has been awhile, but I thought I'd post a few photos for an update.  The first two are of the 6x8 Greenhouse from Harbor Freight.  It wasn't real expensive and it looks like it will hold up nicely. I'm planning on trying some spinach, kale, lettuce and some greens for the chickens in it!  In the spring it will serve as a place to start seeds.


The next photos are of my dad's 1946 Farmall tractor.  We used it to gather pumpkins and squash recently.  It is also a pretty cool antique!


Here are a couple pictures of the chicks! They're not chicks anymore...they're getting big!  Still won't be laying any eggs until around the end of November.  Here they are!  The close-up is of one of the Welsummers that I thought was going to peck at the camera.  In the other photo, they're all just staring at what I'm doing.


I'll do another post, when I plant some seeds out in the greenhouse!  Thanks again for reading!

Wednesday, August 22, 2012

New Chicken Photos!

We've been doing some "remodeling" of our old chicken house over the summer.  We moved them into their new and much larger house a few weeks ago!  Here are some photos of both the chicken house (I'm planning on painting it soon), their outside area and also some photos of the chicks!  They're not really babies anymore, but are still too young to lay eggs.  Here they are.


They're eating scraps from the stew vegetables and peaches I canned earlier today.


The orange mesh fencing on the top, is to keep the hawks out.

 I have 3 of each breed of hen.  This one below is a Delaware.  They are very bossy chickens.


When you go into the chicken house there is a separate door to their pen.  That large bottle in the back is a waterer I got for $10!  They sell for $50.  It pays to look around for used equipment.


I went inside to take this one, they were all waiting for me to throw food for them.


My dad and I took apart an old wooden ladder to make two roosts for them.  They all pile on these at night and sleep.


This one is a Buff Orpington and they are very tame.


Another bossy chicken looking to see what I'm doing...and trying to peck at the camera.


More curiosity about what I'm doing.


This chicken house was brought to our house over 30 years ago....it was at my grandparents before for who knows how long.  I'm going to be painting it up soon, and adding some decorations.  The chickens won't care though.

Saturday, July 7, 2012

Farmer's Market

Here are some photos from the Farmer's Market here in Mt. Vernon.  This is my first year so I'm learning a lot.  Check out the pics!  This was right when we set up.  We took zucchini, swiss chard, collard greens, green onions, turnips and beets.  The photo where you can see radishes was from a different day of picking.  I just thought I would include it.